|
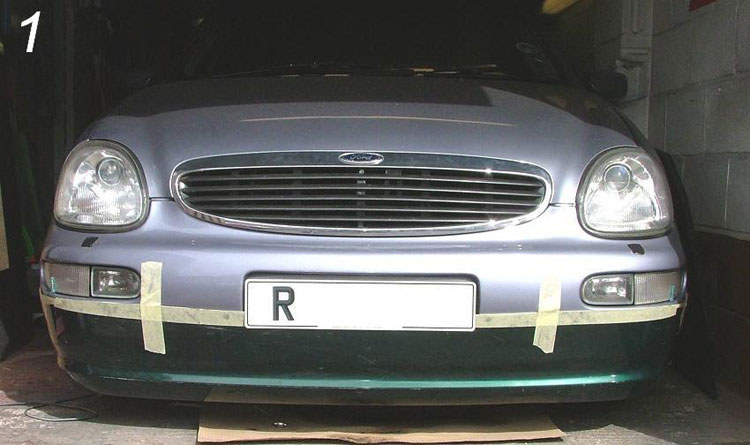
Front Bumper & Grille Mod Firstly, you need to find a shape that you think might look good on
the car. Personally, I like the shape of the RS bumpers that are made
mostly for Audi/VW cars, I found a bumper sticking out of a skip at a
local body shop, I later found this to be a rear one from a Honda, so
I went in and asked if I could take it and they agreed. 1. Test fitted the cut bumper onto Scorpio bumper. This is where you have to try and visualize what your creation may look like. Once you have a mental picture you have to mark it up for cutting.
2. Cut bumper now mounted temporary with screws, note still not removed all of shape as yet for strength.
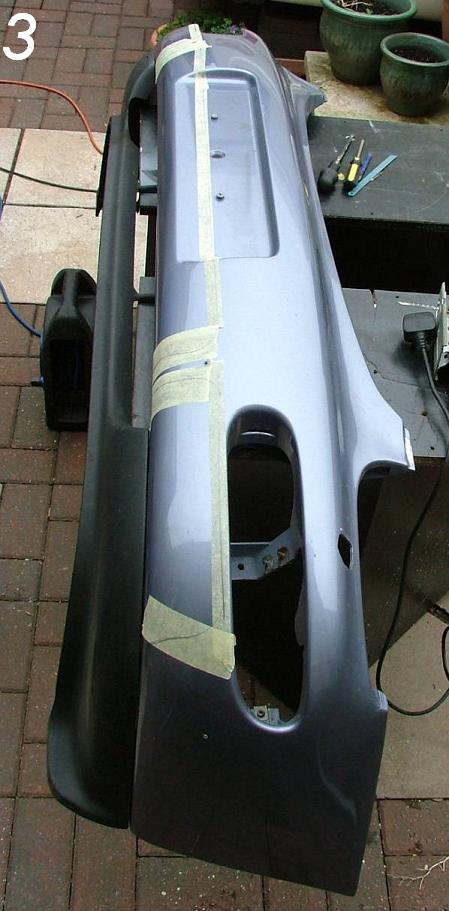
3. Using masking tape, transfer marks from new to old where you want to cut. I used a jigsaw for this but it tends to melt the plastic as you cut and weld itself back together. This takes patience and care.
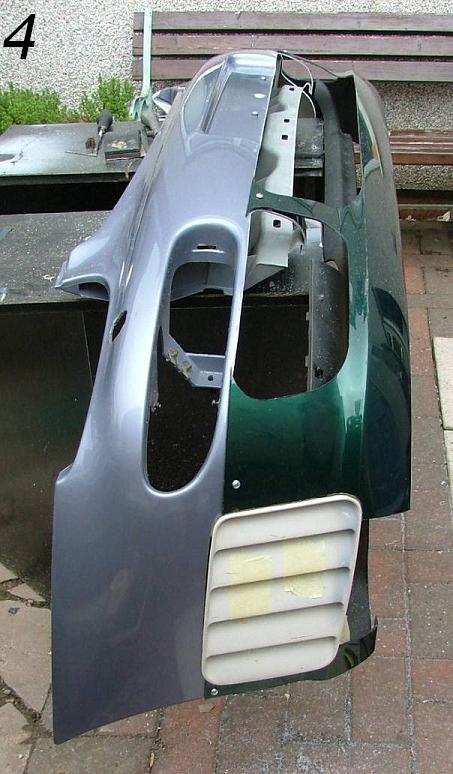
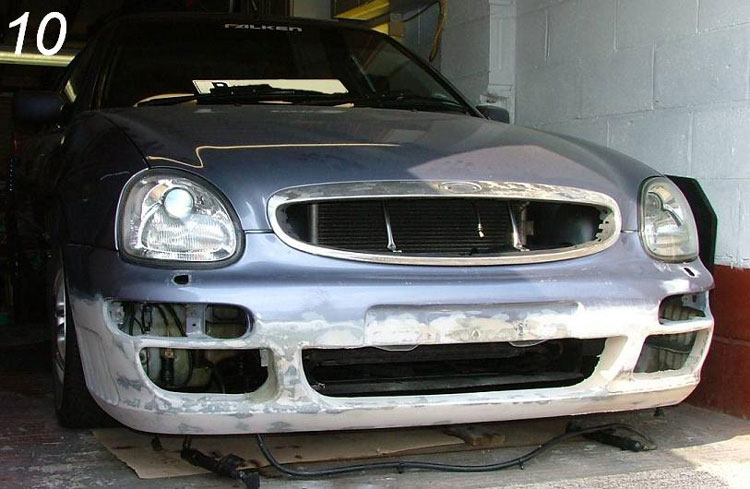
4. The lower half of the old bumper now removed and the new one fixed on with screws again, I cut approx 3 inches from the ends to put onto the wheel arch end of the bumper to make a former for the GRP. I traced around Sierra Cosworth bonnet vents to then cut the sides out of the bumper to allow flush mounting.
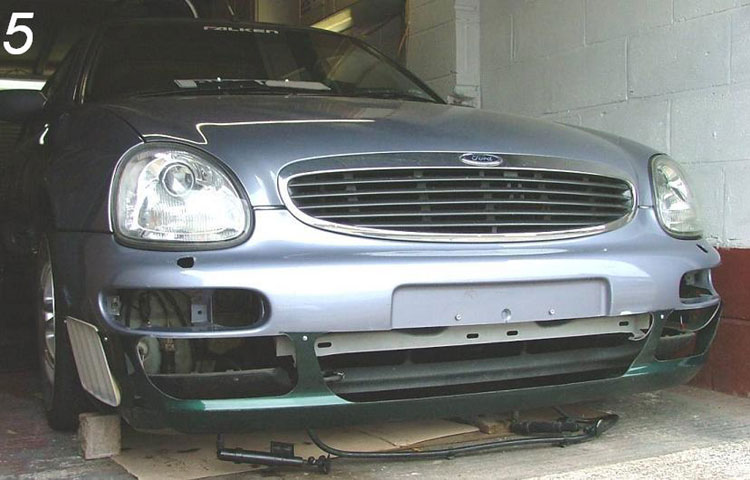
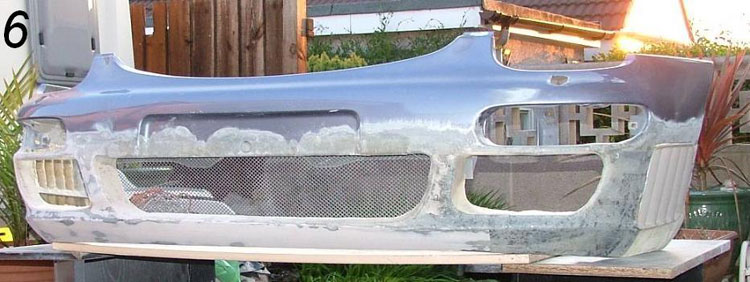
5. The assembly is now remounted back onto the car to get another visual and to check clearances etc. I then drilled some 10mm holes through where I will be glassing so when both sides are covered this will help to stop it separating from the plastic, This was then all covered in GRP as follows, Imagine the bumper as in stage 4, in this position you have to lay the fibre glass on, (only mix enough resin for approx 30 minutes working at a time). Cut strips about 3 X 6 inches and lay them onto the bumper. You need to cover the whole lot with at least 2-3 layers of standard mat, as I was scratch building and not using a mould I just let the fully wetted out mat hang to form the shapes for the front as they would hang vertically in this position.
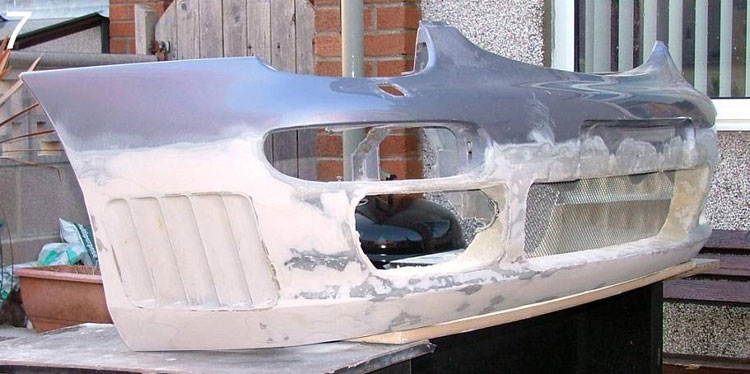
Once this is done repeat for the rear, Rub down the plastic with a rough abrasive to give a good key and then cover this with at least another two layers of GRP. When cured I used a Hobby-type tool to cut and tidy all the rear of the scoops that have been created for the mesh to sit properly. Now I sanded the whole front with a belt sander, DON'T forget to use a mask! 6 and 7. Now for filling, and I used Upol easy sand filler. Filler, as its name implied, is used to fill in cuts, dimpling and imperfections. Again as with the resin only mix enough to use - 20 minutes this time. Cover everything you think needs it, wait for this to go hard and start rubbing down.
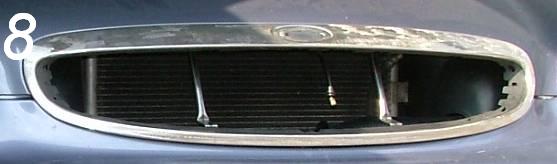
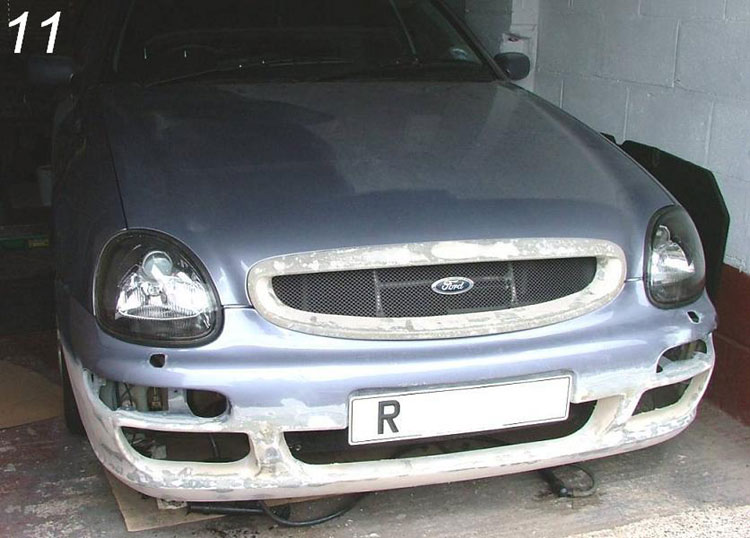
Start with a rubber block and a grade 40 paper. Keep doing this filling and rubbing down with different grades of paper, up to a 400 grade until you are happy with the result. 8. The Grille. I cut the ribs out with a hacksaw and used the hobby tool again to tidy up the edges, I roughed up the chrome outer and then placed it as I did the bumper, Then more fibre glassing, same process again, starting from the outermost part of the chrome edge and letting the mat curl around the edge of the chrome and into where the mesh will be, let this cure then repeat. When happy with the result it was on with the filler, again starting with 40 and working up to 400 grade paper rub down fill etc.
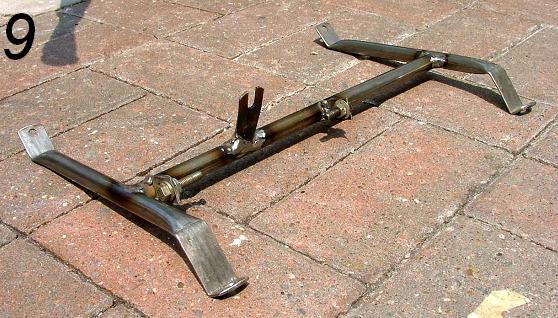
9. I had to fabricate a new bonnet release mechanism as the old one has been cut off the grille. I used 14mm tube from a DIY store and then welded this together to a new design of my own.
12,13. When happy, primer applied, This was the first coat of spray putty, to take out any little marks that may be left in the filler or GRP, note this won't take out big marks or imperfections that actually need filler so be patient with your preparation.
I then used a grey primer and this was then flatted with 600 grade paper before the base coat and lacquer was applied.
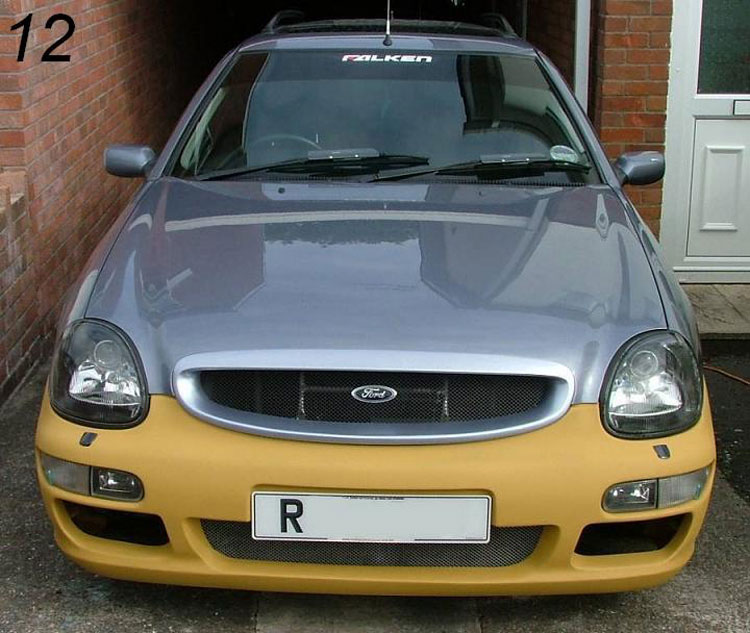
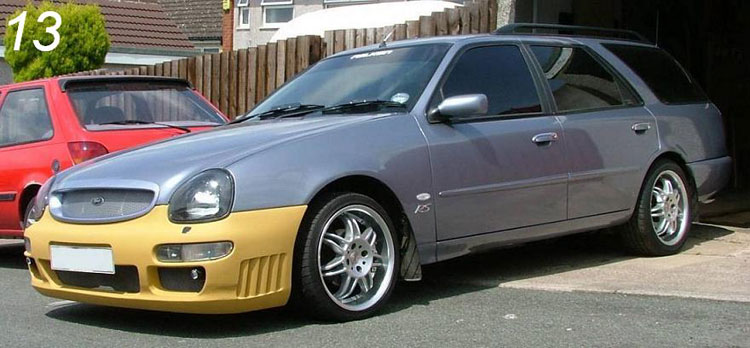
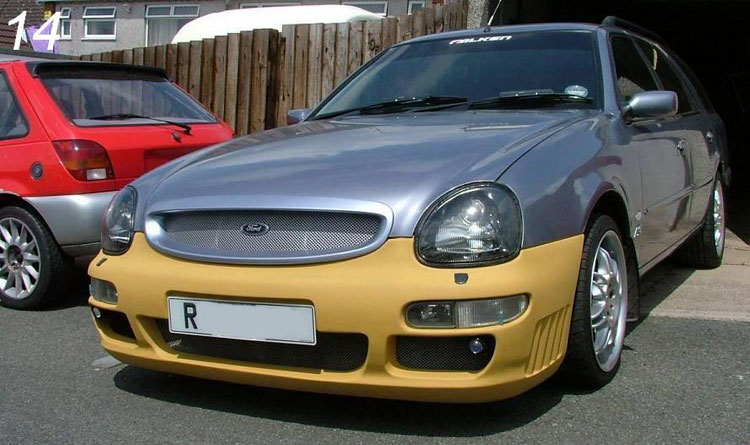
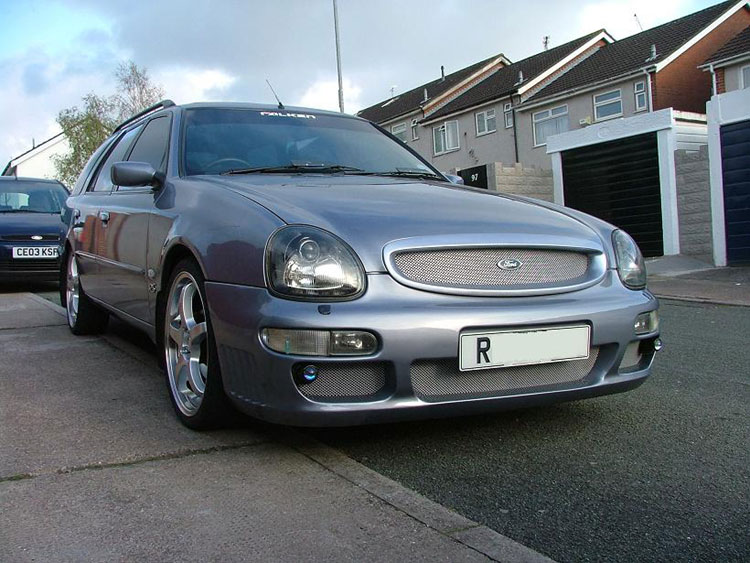
14. The finished result, Not a bad job even if I do say so myself, and this only cost around £100 but a lot of time and patience.
|
|||||||